Instructions for handling willow and poplar setts before and during planting
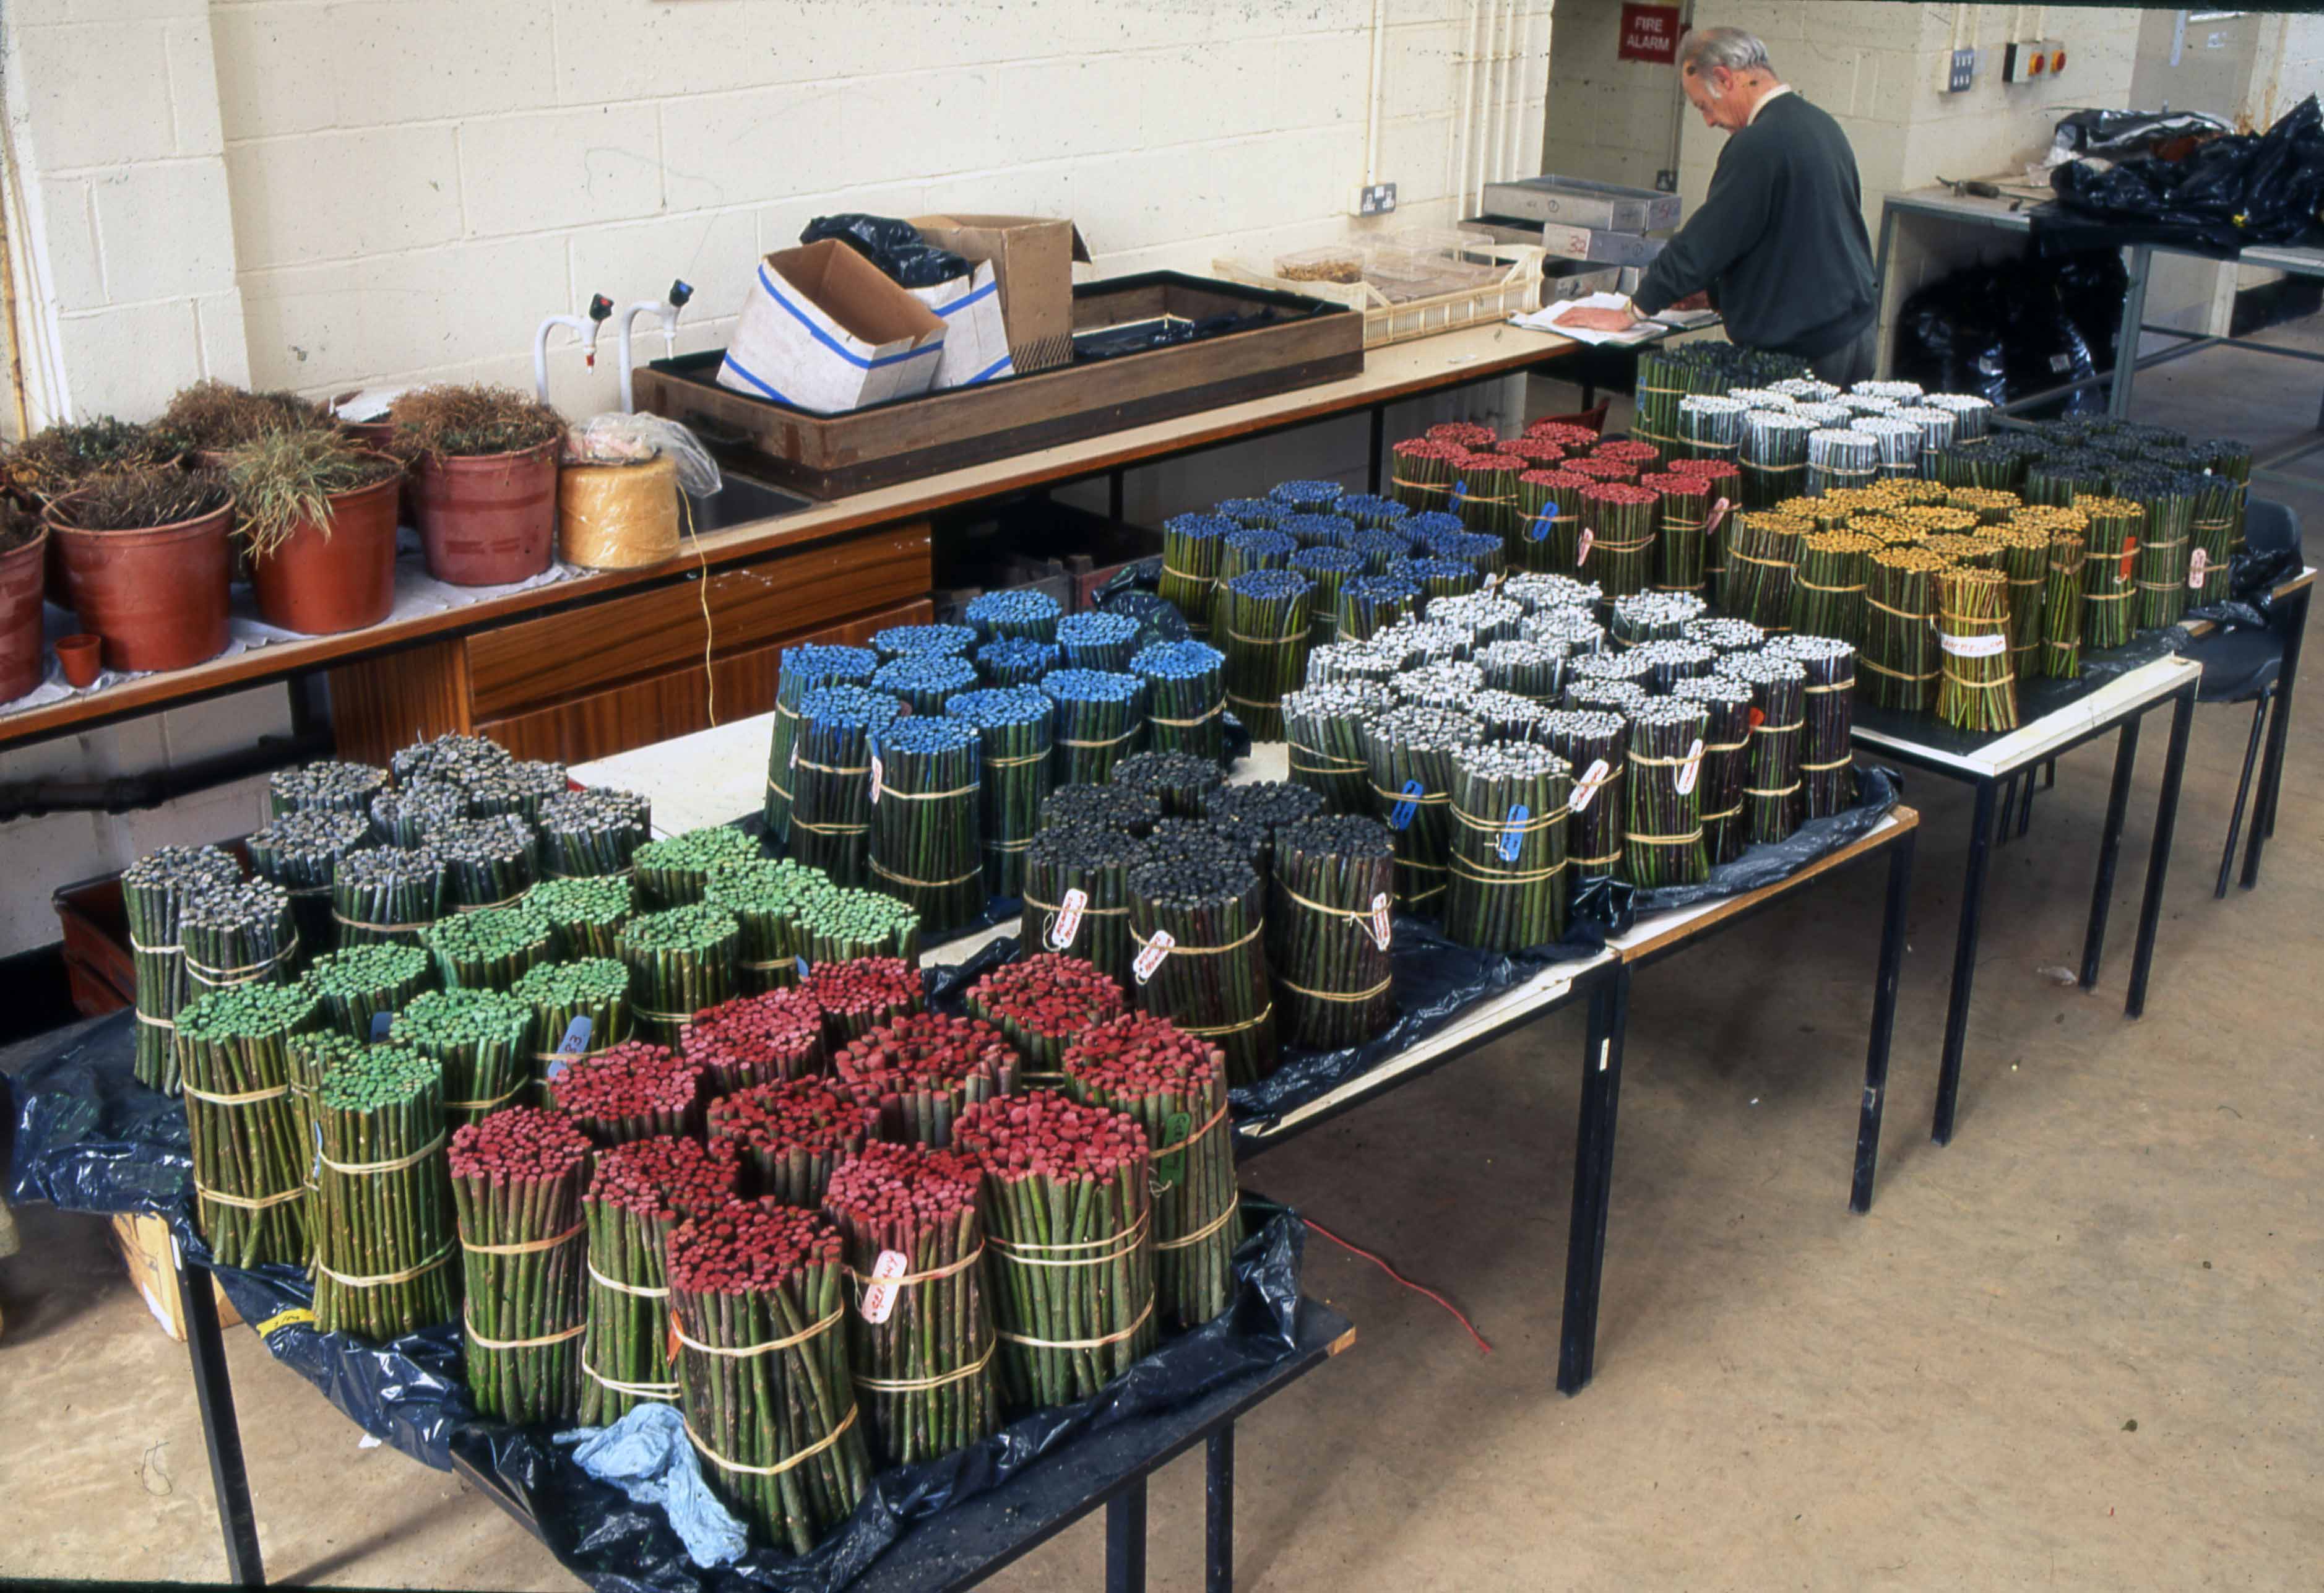
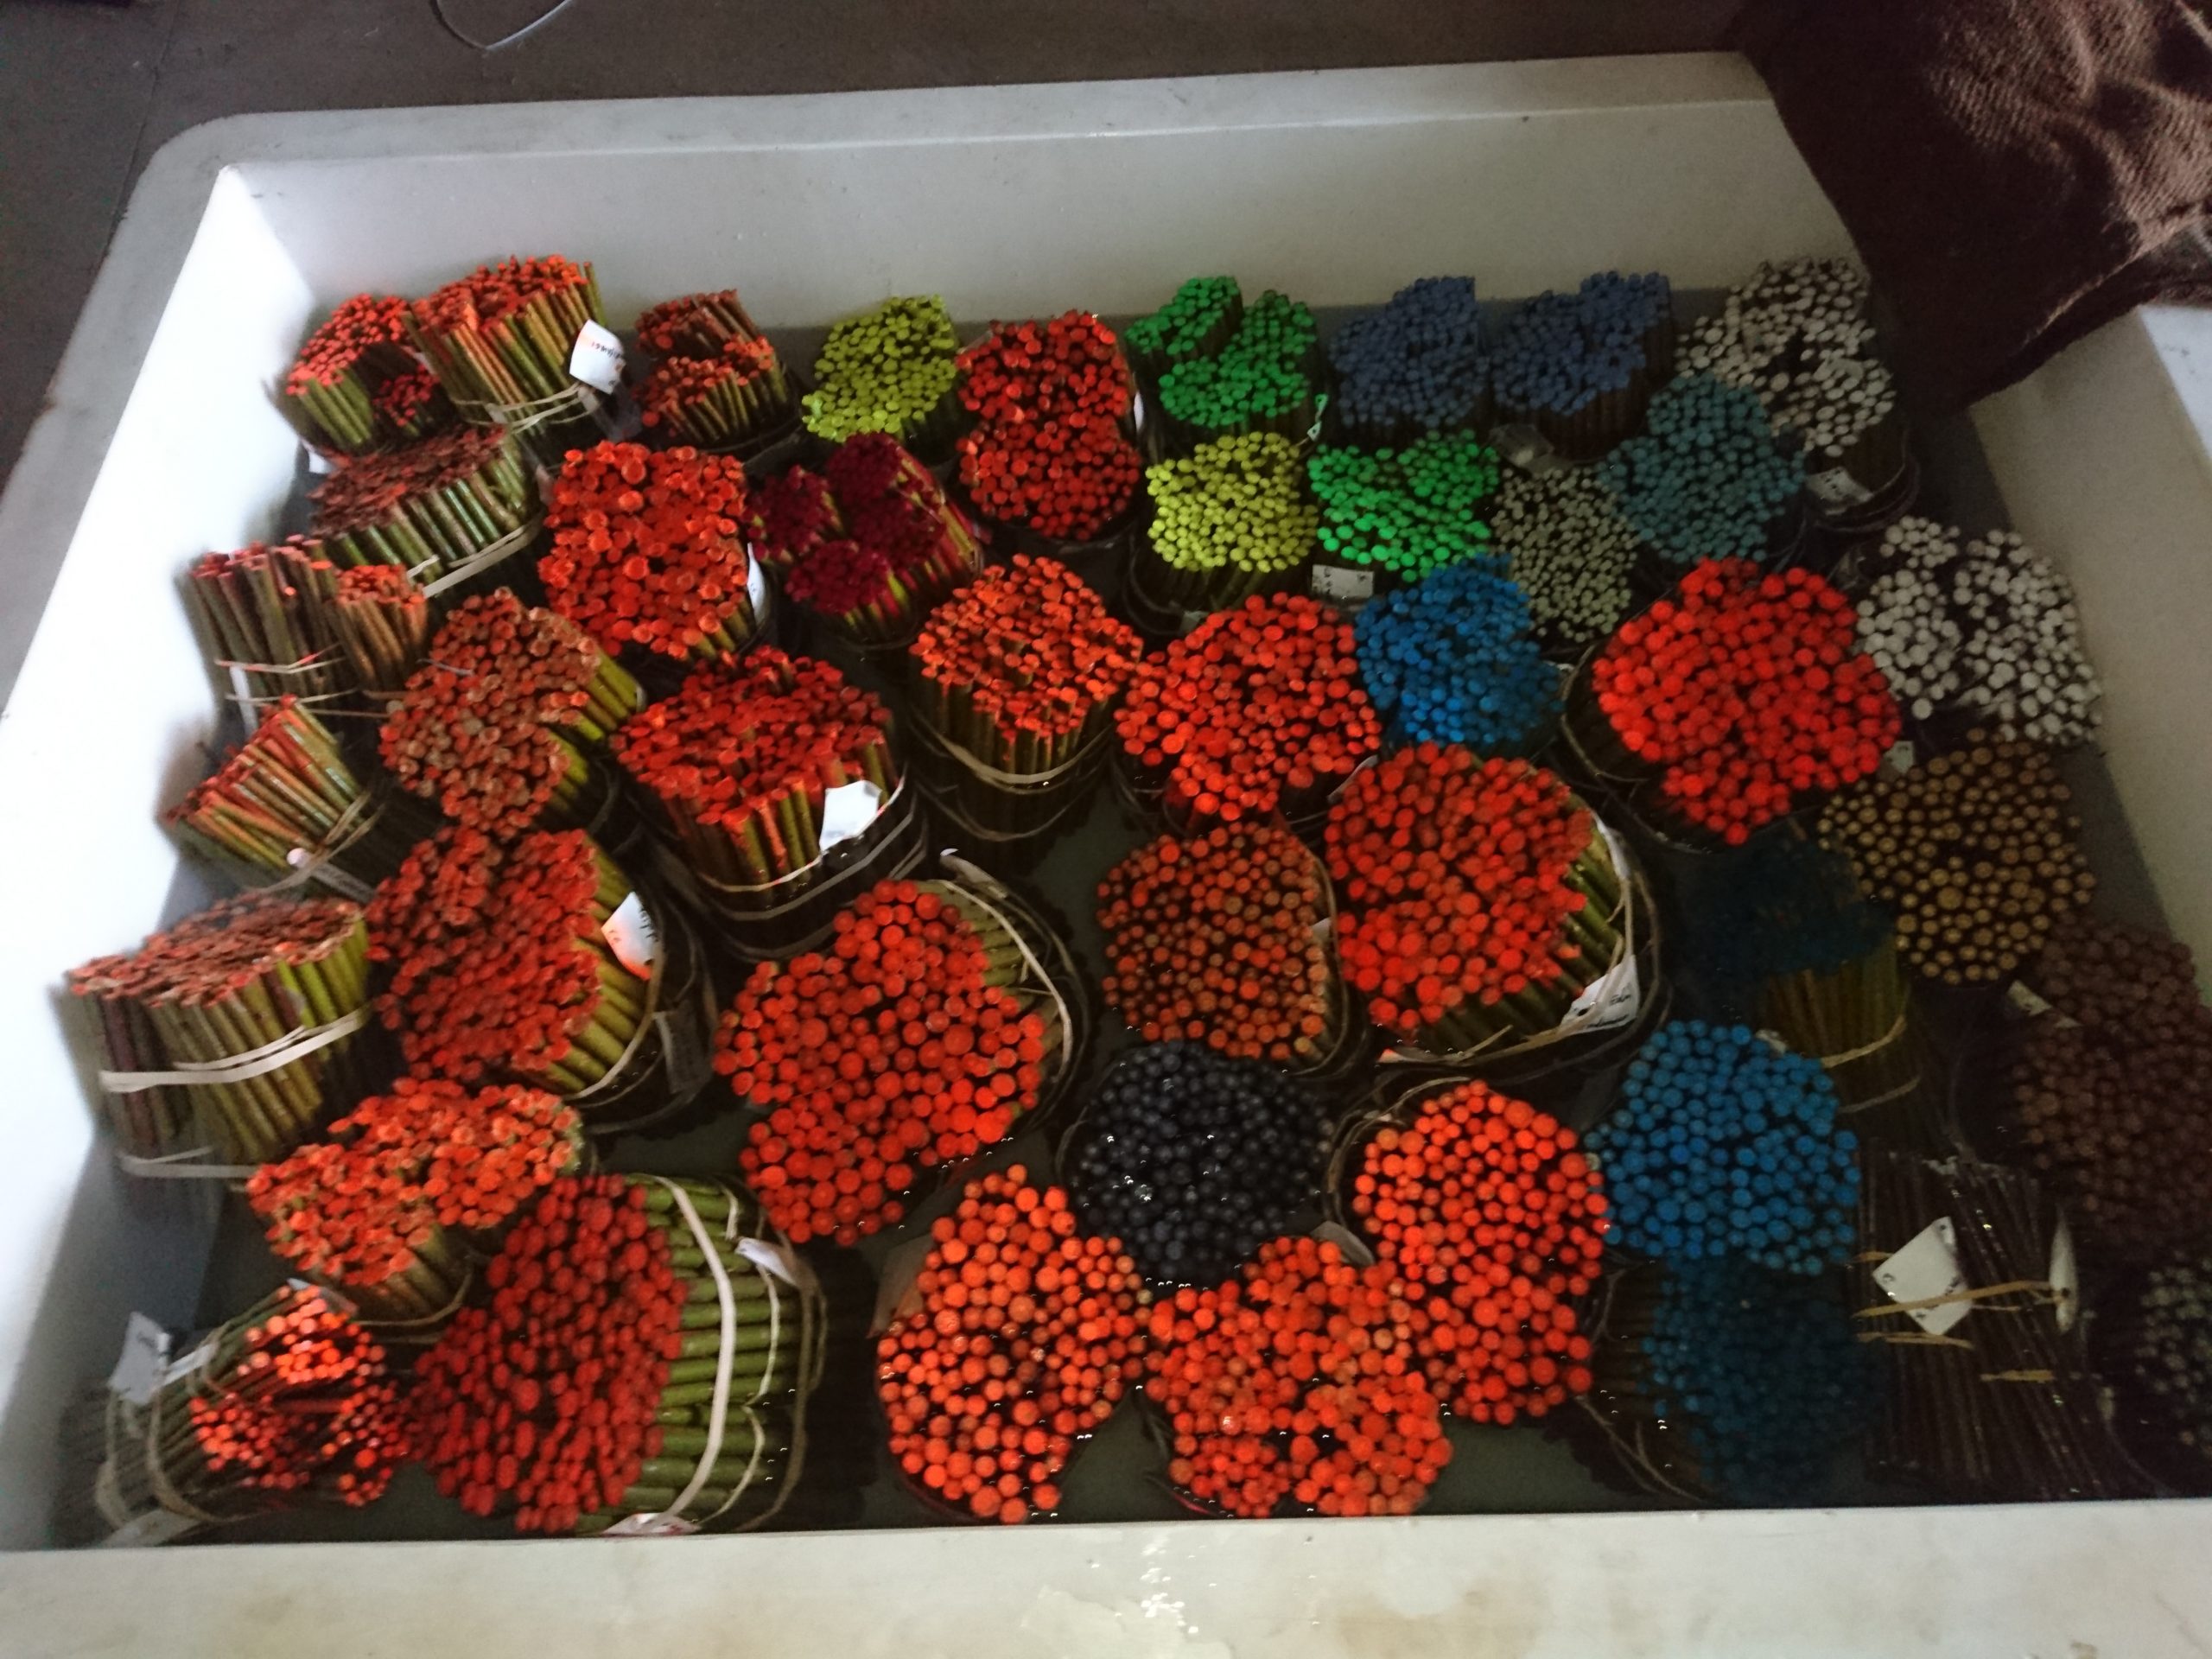
All our cuttings have painted tops which makes it very hard for them to be planted the wrong way up. A simple thing but makes a real difference.
Thanks for purchasing willow and poplar cuttings, setts and rods from us.
We want your planting material to have the best opportunities to grow so here are some instructions on what to do when your planting stock arrives.
We normally dispatch poplar in February to April and willow from early March until mid-April.
Obviously, in advance of receiving your delivery get your land prepared. For large scale plantings that means spraying off weeds, ploughing, power harrowing etc. If you are planting through membrane make sure that is already pegged out and you are ready to go.
Rehydrate your cuttings in a water bath 24 hrs before planting.
We appreciate that sometimes that the delivery doesn’t quite dovetail with your land preparation. If you do have to store the material then keep it in its packaging and leave in a cool barn or outhouse. Alternatively, keep them outside up against a north facing wall (e.g. outside of direct sunlight).
When you have your planting day scheduled it is really important to soak your cuttings and setts for 24 hours in a water bath prior to starting. This rehydrates the planting stock and makes sure they are in tip top condition before you plant.

You don’t want you cuttings/setts to look like this before you plant so don’t leave them soaking for too long.
If you are planting over several days Do Not soak all the cuttings / setts in one go as some will be in water for too long and may begin to root. That’s not a good result as the roots will be damaged when you plant and crucial reserves within the cutting will have been used up.
If your willows have been delayed in transit and they do turn up with roots and shoots it might not be the end of the world. If you are pushing into soil then it’s best to remove the roots and shoots and let the cutting start again. It’s not ideal but willows are laced with root producing hormones in their bark so as long as they get contact with soil as soon as possible they should hopefully take.
Our willows come with painted tops and usually are colour coded for different varieties. This is very important as the coloured tops indicate the right way up to plant (with buds facing the sky). Although, it seems daft, it is very easy to plant cuttings and setts the wrong way. Unfortunately, if the buds are facing downwards you are asking an awful lot of your cutting to successfully produce roots and shoots.
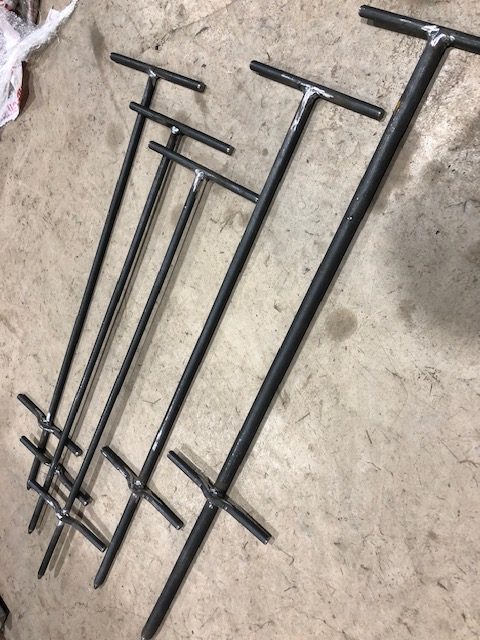
A dibber makes hand planting a lot easier especially when planting in uncultivated soil or through membrane.
When you do come to plant, if you are planting in uncultivated land you will need a dibber or to fashion something similar to make a hole into which you can push your cutting/sett.
- For a 20 cm cutting you want to get as much as possible in the ground with 2-3 cm of the tip showing.
- For a 40 cm sett you should plant 20 cm deep with 20 cm emerged
- For a 60 cm sett you should be trying to get 25-30 cm in the ground
- For a long rod perhaps 40-50 cm
When I plant I make a hole then push the cutting or sett in. When I start to feel resistance I then push again. To test if it is in firm enough I give it a light pull – if the cutting moves then it is not in firmly enough.
If your setts are thick enough you can give them some light taps with a mallet. Again knock it a few times and then give a light pull. If there is resistance then it is in firmly enough.
The cutting needs to have a good contact with the soil. If the soil dries and there is wriggle room the cutting will likely die and you will have wasted time and money. So it’s really worth the extra bit of umph trying to get them in nice and firm.
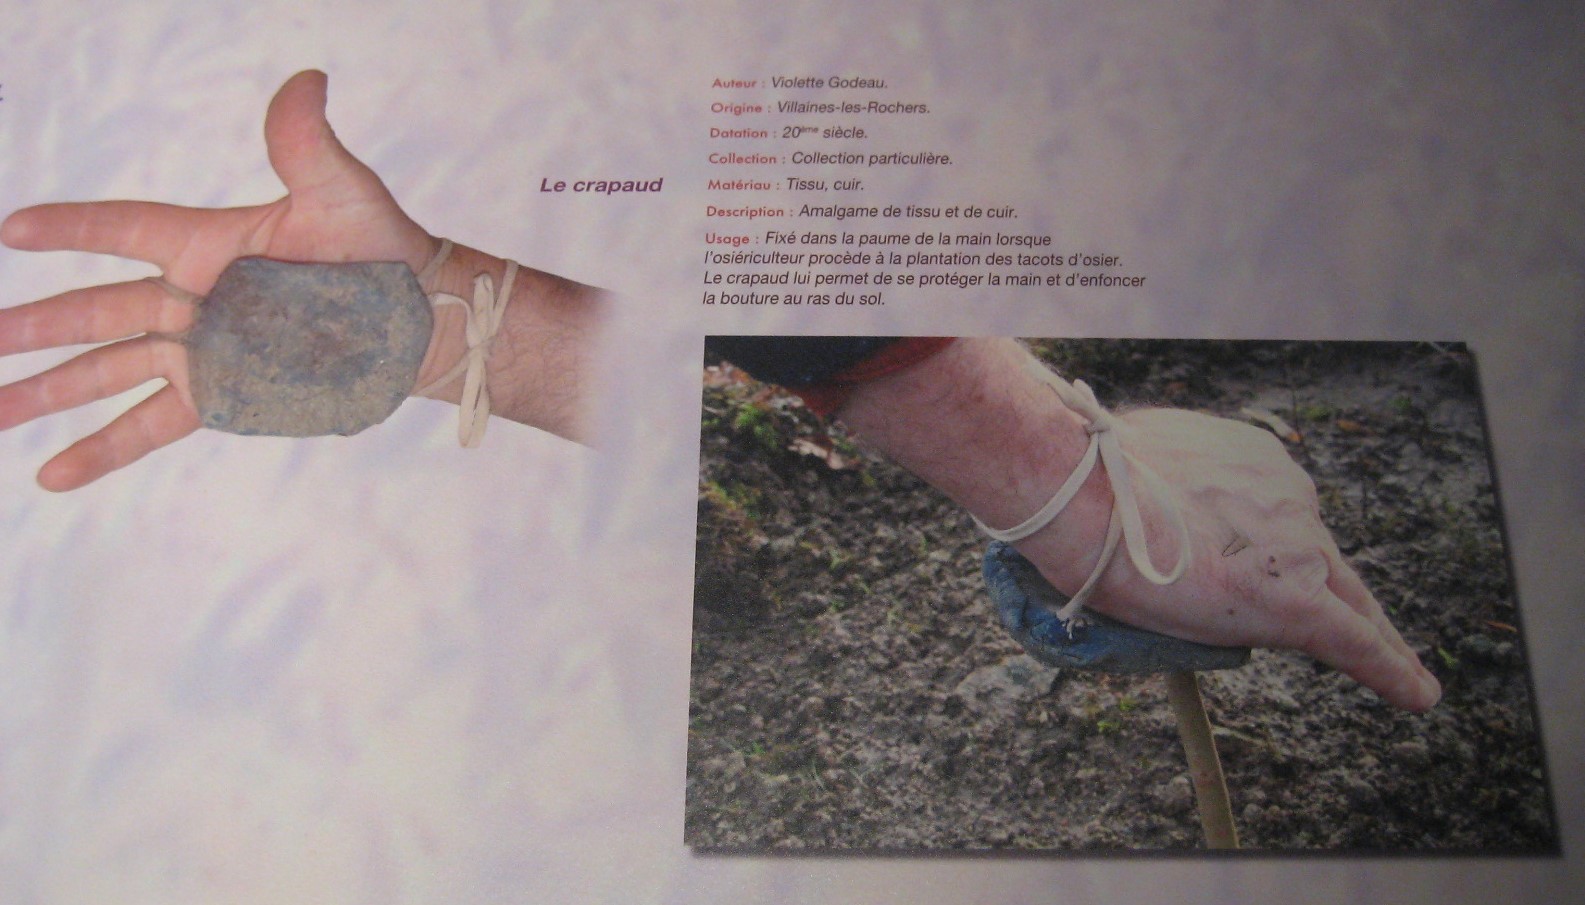
Anti-blister willow planting kit – Le crapaud.
This activity is tough on your hands. You will need good gardening gloves. Even then you may get a blister at the base of your thumb. When in France at the Vannerie de Villaines willow museum on the Loire I saw this picture which shows how the willow professionals avoid this. This is an age old solution from people who know – Le Crapaud translates as The Toad which goes to show that something is lost in translation! If you have soft hands then I highly recommend fashioning something like this with a bit of leather.
Be careful that the cuttings/setts don’t bend. If it does then stick another one in alongside as a bent one is much less likely to grow.

A sturdy shopping bag like this makes for a good way to carry your setts around. I use an old golf strap and that allows me to carry it over my shoulder.
One thing that no one thinks of before planting is how to carry the cuttings and setts around. It’s a right pain to keep on having to walk back to a pile or to pick them up and put them down. Hence, what you need is a paperboy’s sack or similar. I tend to use a supermarket bag attached over my shoulder with an old golf bag strap. This can easily accommodate 50 setts and enables a great deal of freedom for planting.
Be aware that hand planting (the way I suggest) is quite hard on your tendons. As a result take it steady and don’t try to do too much in one go. Allow 1 – 2 cuttings or setts per minute (90-120 per hour). This allows for time walking back to refill your bag and the frequent need to refuel yourself with coffee and biscuits, listen to the birds (and let’s face it look at your phone).
Finally, if like me “the spirit is willing but the flesh is weak”, then there are a couple of other tricks that I have learnt down the years. For me wearing a back brace really helps with all the constant bending. Also, I tend to take a pre-emptive ibuprofen before I start planting (obviously with food) which alleviates any muscle aches. This last bit is not advice by the way but is an option that you may like to consider.
Good luck!